Published: May 2026
Author: Jaymie and Lily
Recipe origin: Middle East
Sesame-free hummus is nearly impossible to find, as tahini (a paste made from sesame seeds) is a common ingredient. This delicious recipe proves it isn’t necessary—the hummus is just as creamy and flavorful without it.
Naan bread or pita
¼ cup water
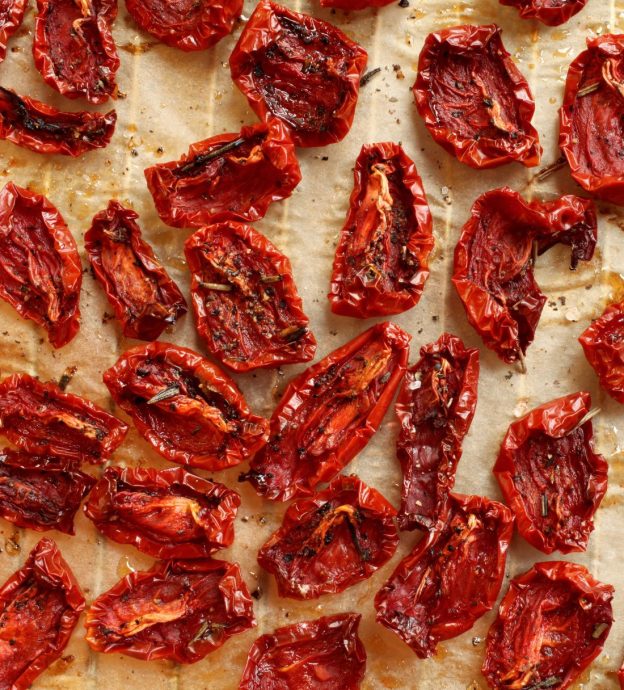
2 TBSP of oil packed sun-dried tomatoes (separate a few, chopped, for garnish)
½ tsp salt
¼ tsp ground pepper
2 garlic cloves
1 can (15 oz) chickpeas, drained (separate out a few for garnish)
Chopped fresh parsley, optional
Toast the naan bread or pita. Slice into triangles.
Combine water, sun-dried tomatoes, salt, pepper, garlic, and chickpeas in a food processor or blender. Process until smooth.
Garnish with chopped sun-dried tomatoes, a few chickpeas, and parsley.
Sesame-free hummus is nearly impossible to find, as tahini (a paste made from sesame seeds) is a common ingredient. This delicious recipe proves it isn’t necessary—the hummus is just as creamy and flavorful without it.
Ready to turn your recipes into something memorable? Click here to get started!
No comment |
Post a Comment